CellOrganizer for Docker
About CellOrganizer for Docker
CellOrganizer for Docker is an image with compiled binaries from CellOrganizer functions
- img2slml, the top-level function to train generative models of cells, and
- slml2img, the top-level function to generate simulated instances from a trained generative model.
- slml2info, the top-level function to generate a report from information extracted from a single generative model.
- slml2report, the top-level function to generate a report from comparing generative models.
- slml2slml, the top-level function to combine models into a single model file.
Installing CellOrganizer for Docker
About Docker
Docker performs operating-system-level virtualization. To learn about Docker and how to use it, click here
Setup
The following instructions describe
- How to install Docker, the virtualization engine that will run the container
- How to install Kitematic, a UI for Docker
- How to download the latest cellorganizer-docker image from Docker Hub, i.e. the docker images repository
- How to start a container from the Docker image
- How to connect to the container
- How to run some of the demos included in the container
Source Code
For convenience, the Docker image can be found in Docker Hub along with links to the Dockerfile.
The instructions below will show you how to download and use this image.
Installing Docker
Before downloading the image and spinning a container, you need to install Docker. Installing Docker is beyond the scope of this document. To learn about Docker Community Edition (CE), click here.
Download the repository and build the image from Dockerfile using Docker
Open terminal and enter the commands
git clone git@github.com:icaoberg/docker-cellorganizer.git
cd docker-cellorganizer
docker build -t murphylab/cellorganizer .
Running the commands above will build the image locally and will not pull the existing image from the repository. For example, in Ubuntu
Download the most recent image using Docker command line
Open terminal and enter the command
docker pull murphylab/docker-cellorganizer:latest
Running this command will initiate the download and pull the most recent image of cellorganizer-docker from Docker Hub down to your computer.
Once the download is complete, you can confirm the image was downloaded by entering the command:
docker images
You should see a record of a docker image identified by its repository murphylabs/cellorganizer and the tag latest.
Installing Kitematic
The easiest way to download an image and run a container is to use Kitematic. Kitematic is a tool for downloading images and running containers.
- To install Kitematic, click here.
Attention
Kitematic is not necessary, but it is recommended to streamline installation and deployment.
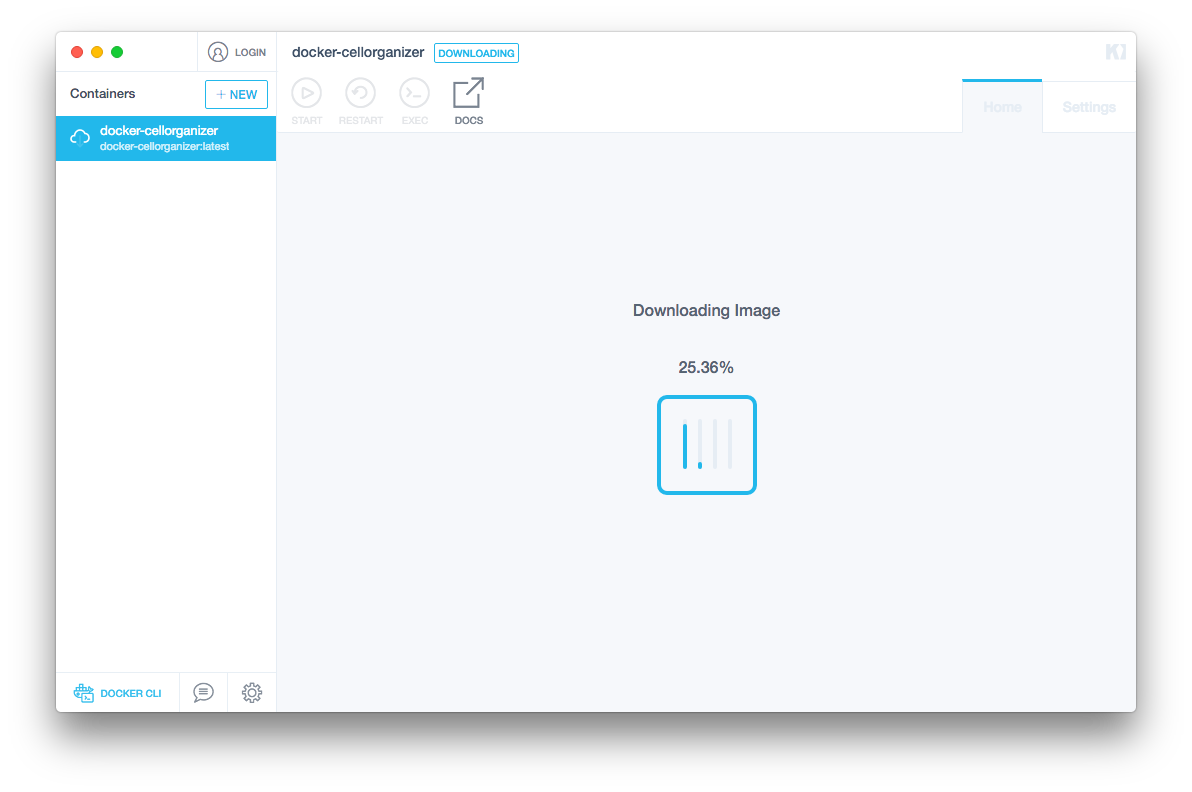
Download the most recent image using Kitematic
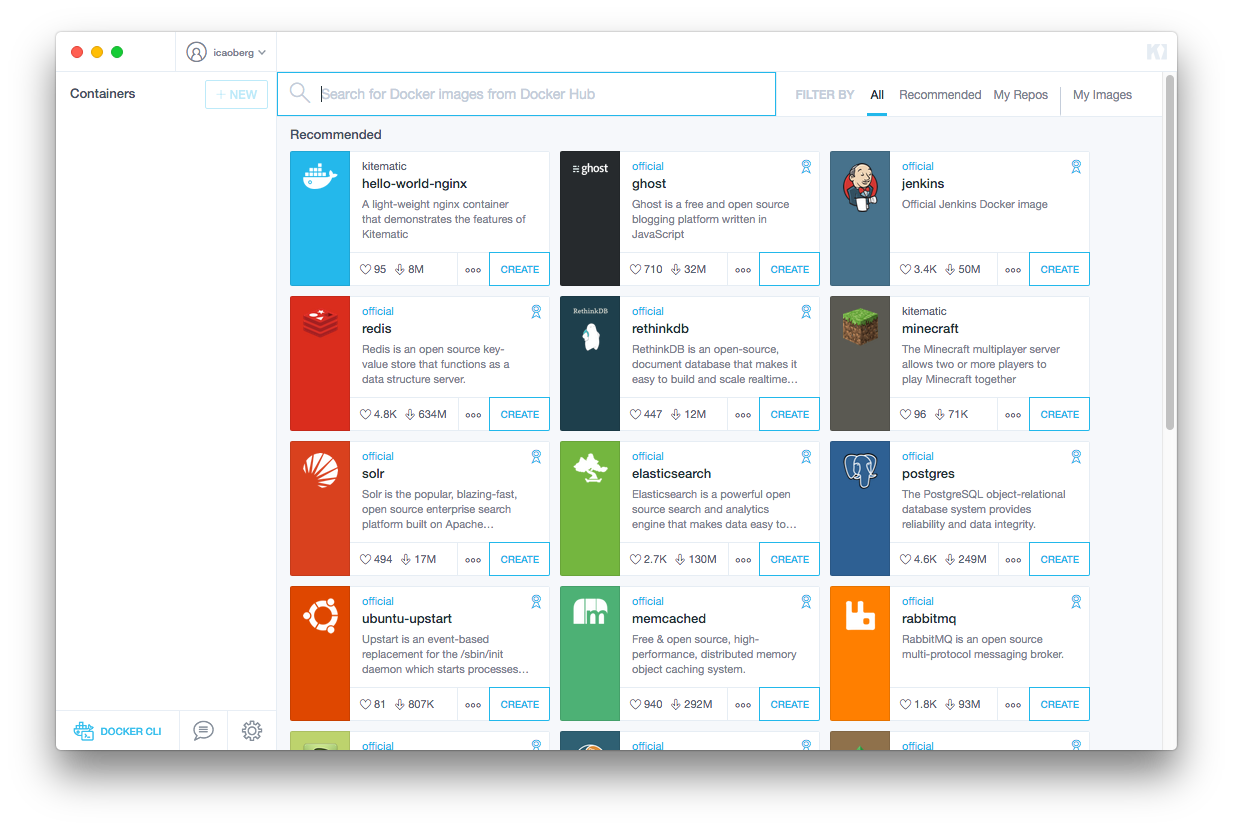
Start Kitematic. It should open a window similar to the screenshot below
Searching for CellOrganizer should return a container like the image below
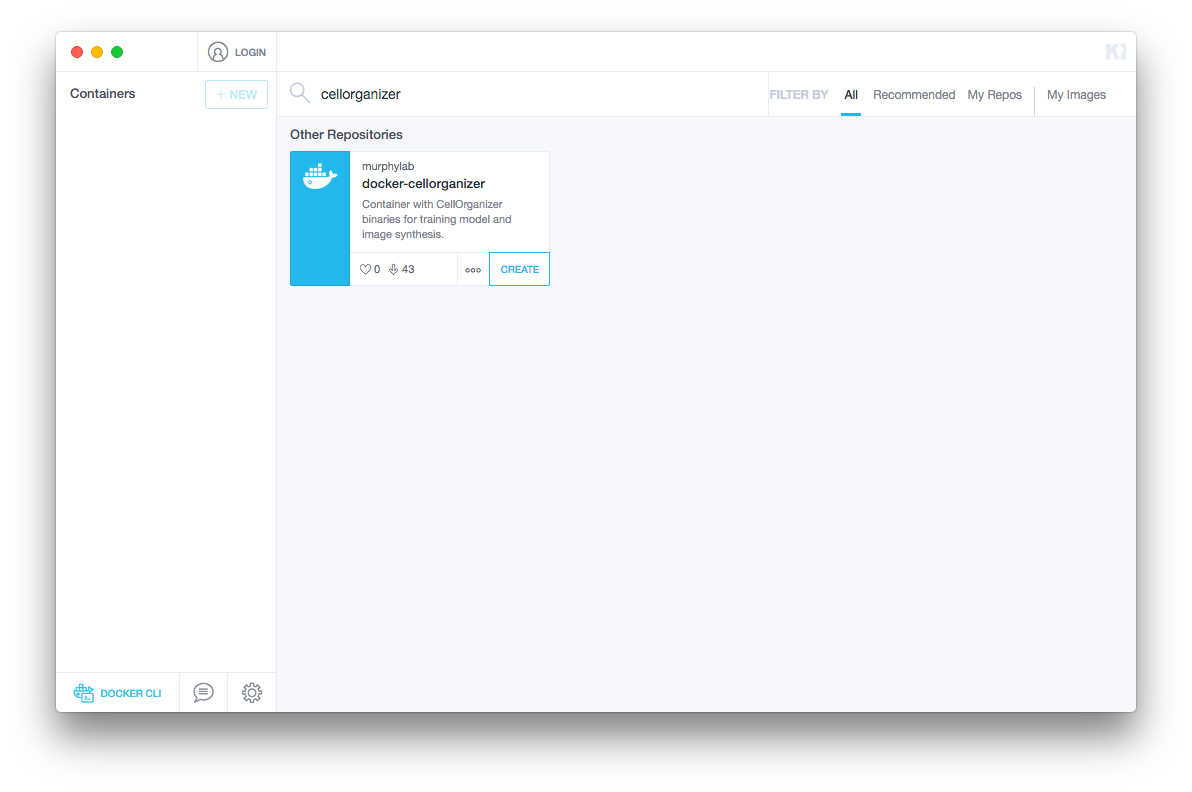
Then click CREATE to download the image and start a container
Demos
There are several demos included within the CellOrganizer software bundle. These demos are intended to illustrate CellOrganizer’s functionality, and should be used to familiarize the user with the input/output format of various top-level functions such as img2slml and slml2img.
| Demo | Training | Synthesis |
|---|---|---|
| demo2D00 | True | |
| demo2D01 | True | |
| demo2D02 | True | |
| demo2D03 | True | |
| demo2D04 | True | |
| demo2D05 | True | |
| demo3D00 | True | |
| demo3D01 | True | |
| demo3D03 | True | |
| demo3D04 | True | |
| demo3D06 | True | |
| demo3D07 | True | |
| demo3D08 | True | |
| demo3D09 | True | |
| demo3D11 | True | |
| demo3D12 | True | |
| demo3D19 | True | |
| demo3D20 | True | |
| demo3D35 | True | |
| demo3D47 |
Running CellOrganizer for Docker
Access cellorganizer-docker container interactively
Make sure Docker is running on your computer. Open Terminal and enter the command:
docker run -it murphylab/docker-cellorganizer:latest
The docker run command creates a container instance from our cellorganizer-docker image (murphylab/docker-cellorganizer:latest).
The -it option enables us to interactively access the container. The Terminal window now reflects the view within the cellorganizer directory inside our container instance. We have access to all files and directories in the container through Terminal.
For example, to interact with the container and find all generative models
Run a demo that invokes img2slml
An example of a demo that trains a generative model from a series of .tif image files is demo2D01. To run this demo, change your current directory to cellorganizer/demos/2D/demo2D01 by entering:
cd cellorganizer/demos/2D/demo2D01
You should find the shell script demo2D01.sh. To run the demo, Enter the command:
./demo2D01.sh
This demo will save a folder param containing .mat files as well as a .mat file lamp2.mat to the same directory (/home/cellorganizer/demos/2D/demo2D01). These .mat files contain information characterizing the trained generative model.
Running the demo in the container should produce results similar to
Run a demo that invokes slml2img
An example of a demo that produces simulated images from a trained generative model is demo2D02. To run this demo, change your current directory to /home/cellorganizer/demos/2D/demo2D02 by entering:
cd cellorganizer/demos/2D/demo2D02
You should find the shell script demo2D02.sh. To run the demo, Enter the command:
./demo2D02.sh
This demo will save a folder img containing these simulated images to the same directory.
Exit the container
To leave the container, enter:
exit
You will return to the local directory you were in before you ran Docker.
Export generated data out of the container
To export generated data out of the container, the following information is needed
- the container ID
- the source filepath (i.e. the filepath, within the container filesystem, of the data to be exported)
- the destination filepath (i.e. the filepath, within our local filesystem, to which we want to export the data)
The command used to do this is
docker cp <container_id>:<source_filepath> <destination_filepath>